How to Connect Pricing Tables with WooCommerce Products
TableX integrates seamlessly with WooCommerce, allowing you to display product prices directly in your pricing tables and automatically redirect customers to the WooCommerce checkout page.
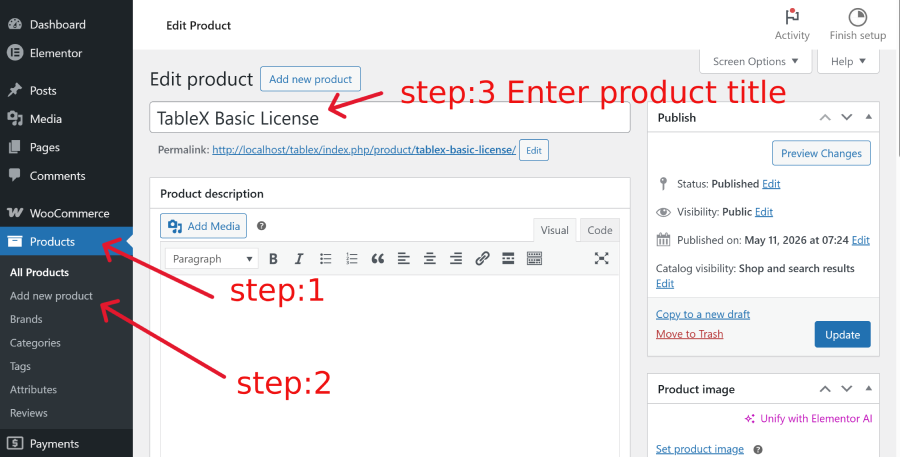
Step 1: Create WooCommerce Products
Before connecting your pricing tables, create the WooCommerce products that will be associated with each pricing plan.
- Navigate to Products → Add New.
- Create a separate WooCommerce product for each pricing plan.
Example Products
- Starter Plan
- Professional Plan
- Enterprise Plan
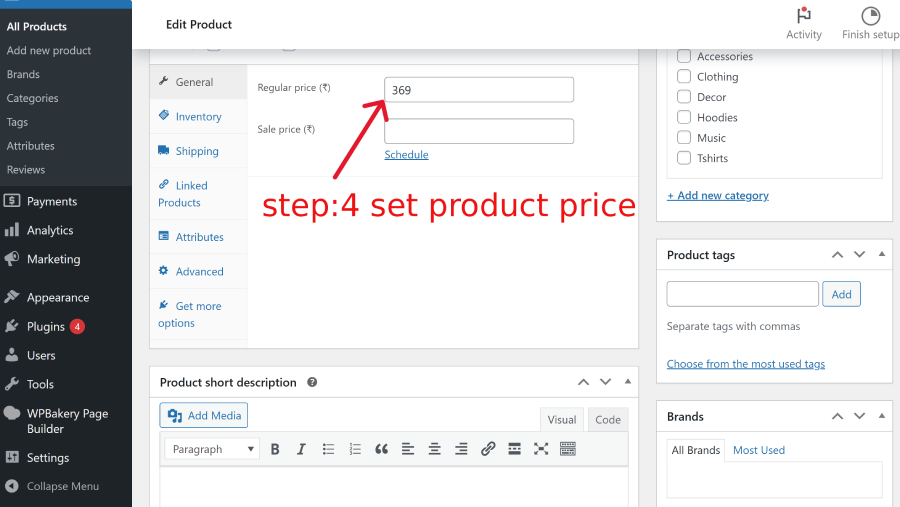
- Configure the product details, including pricing and checkout settings.
- Publish the products.
Step 2: Display WooCommerce Product Prices
After publishing your products, you can connect them to your pricing tables.
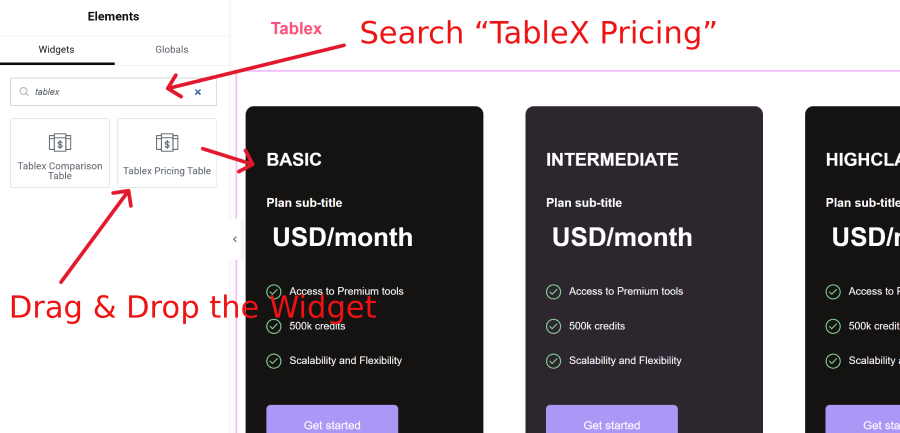
- Edit your page with Elementor and open the TableX Pricing widget.
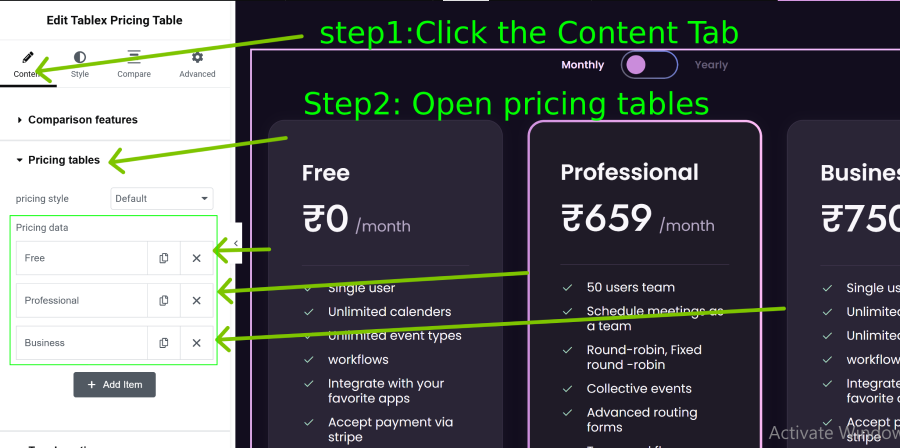
- Navigate to Content → Pricing Table.
- Open any pricing plan item.
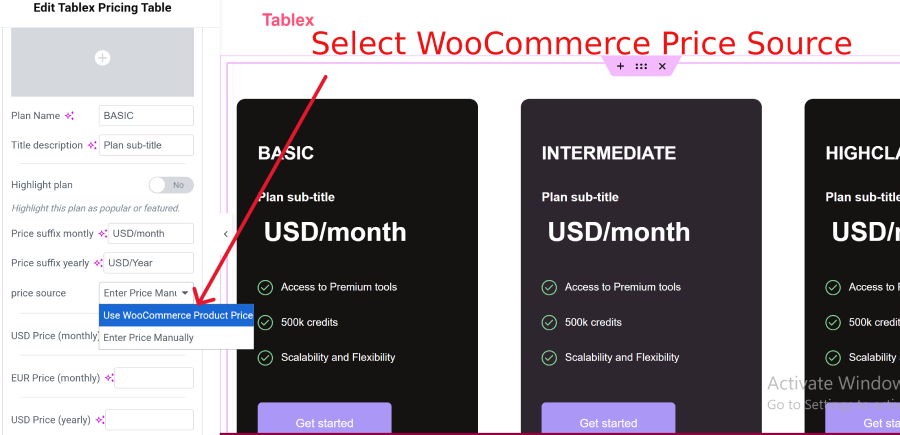
- Locate the Price Source option.
- Select Use WooCommerce Product Price as the price source.
- A Select Product dropdown will appear.
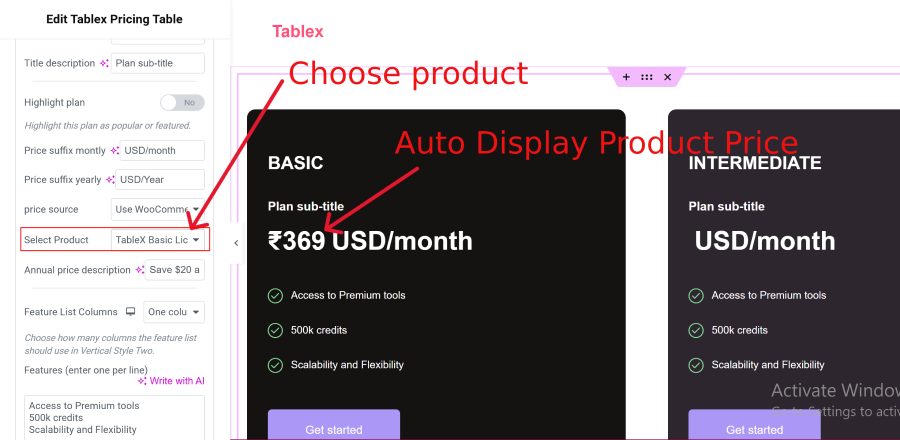
- Choose your WooCommerce product from the dropdown list.
- The product price will automatically be displayed in the pricing table.
- The pricing button URL will also automatically link to the WooCommerce checkout page.
- Click Update to save your changes.
Result
Once configured, the pricing table will display the selected WooCommerce product price, and users who click the pricing button will be redirected directly to the WooCommerce checkout flow.