How to Display Prices in the Comparison Table
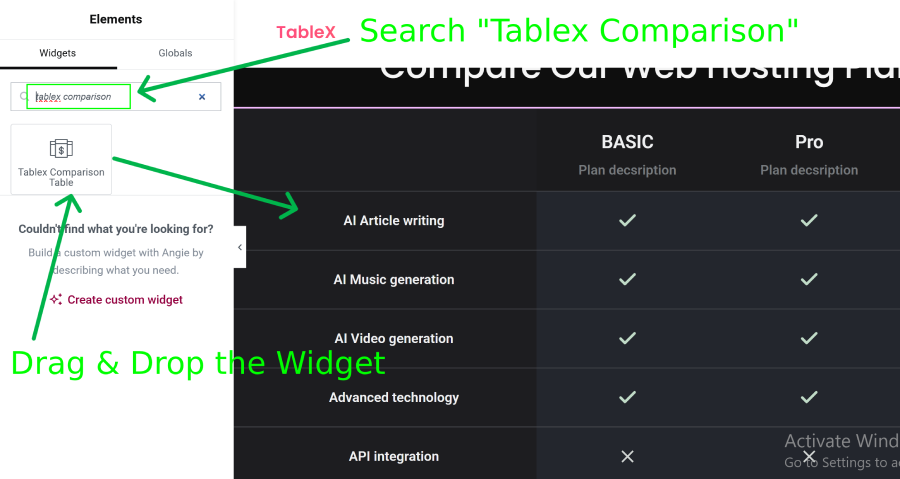
TableX allows you to display pricing information directly within the Comparison Table widget. You can either enter prices manually or automatically pull prices from WooCommerce products.
Enable the Price Section
- Open the TableX Comparison Table widget in Elementor.
- Navigate to the Content tab.
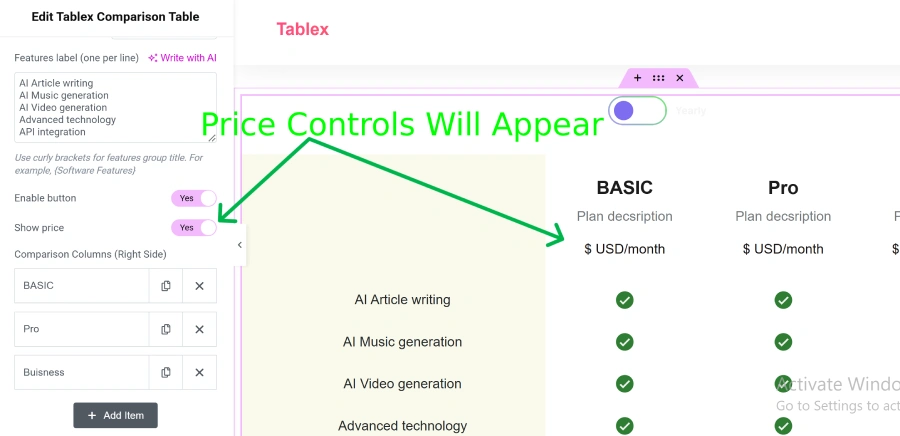
- Open the Feature Columns section.
- Enable the Show Price option.
- After enabling it, the price section and related controls will become available.

Configure Plan Prices
- Open any individual plan from the plans list.
- Locate the Price Source option.
- Select one of the following price sources:
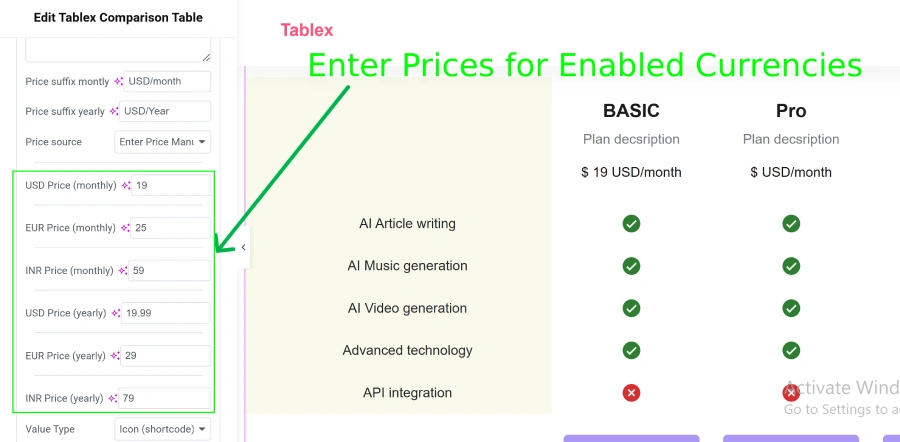
Manual Pricing
Choose Manual if you want to enter custom pricing values.
- Enter the Monthly Price.
- Enter the Yearly Price.
- Customize the pricing text as needed.
WooCommerce Product Pricing
Choose WooCommerce Product Price to automatically display prices from WooCommerce products.
- Select WooCommerce Product Price as the price source.
- Choose a product for the Monthly Plan.
- Choose a product for the Yearly Plan.
- The product prices will automatically be displayed in the comparison table.
Save Changes
- Review your pricing configuration.
- Click Update to save the changes.
- View the page to verify that the pricing information is displayed correctly.
Result
Once configured, the Comparison Table will display pricing information for each plan, allowing visitors to compare both features and pricing from a single table.