Creating menus in WordPress is a simple and straightforward process that allows you to organize your website’s content and make it more accessible to your visitors. Creating menus is same for both desktop and mobile version except the step number 5.
By following the steps outlined in this documentation, you can easily create and customize menus for your WordPress website.
Step 1: Accessing the Menus Page
To create menus in WordPress, you first need to access the Menus page. You can do this by logging into your WordPress admin dashboard, clicking on the Appearance menu option, and selecting Menus from the drop-down menu.
Step 2: Creating a New Menu
Once you are on the Menus page, you can start creating a new menu by clicking on the Create a new menu link. You will be prompted to enter a name for your new menu. Enter a descriptive name for your menu and click on the Create Menu button.
Step 3: Adding Menu Items
After creating a new menu, you can start adding menu items to it. To add a new menu item, select a page, post, category, or custom link from the options on the left-hand side of the screen, and click on the Add to Menu button. You can also drag and drop items from the left-hand side of the screen to the menu area on the right-hand side of the screen.
Step 4: Organizing Menu Items
Once you have added menu items to your menu, you can organize them by dragging and dropping them into the desired order. You can also create sub-menus by dragging and dropping menu items to the right of other menu items. These sub-menus will appear as drop-down menus when the main menu item is clicked.
Step 5: Assigning the Menu to a Location
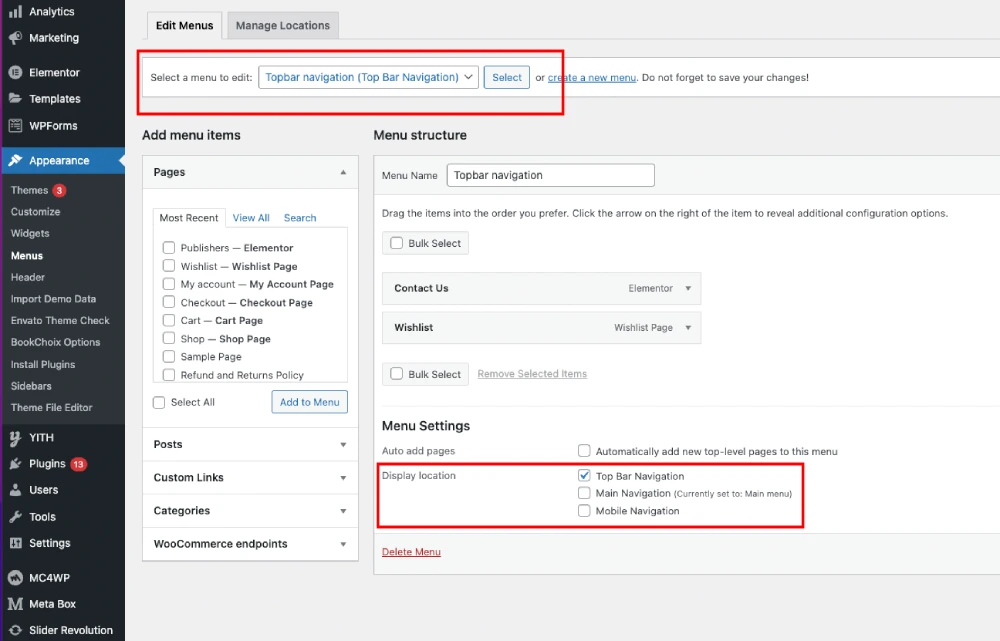
After creating and organizing your menu, you need to assign it to a display location on your website. The BookChoix theme has 3 display locations
- Top Bar Navigation
- Main Navigation
- Mobile Navigation
To assign your menu to a location, scroll down to the Menu Settings section, select the appropriate menu location from the available options.
- To create a Top bar menu, select “Top Bar Navigation”.
- To create a Main desktop menu, select “Main Navigation”.
- To create a Mobile menu, select “Mobile Navigation” as display location.
Once done, click on the Save Menu button.
Step 6: Previewing and Updating the Menu
Once you have assigned your menu to a location, you can preview it by visiting your website. If you are satisfied with the way your menu looks, you can save any changes you have made by clicking on the Save Menu button.